The Short Answer
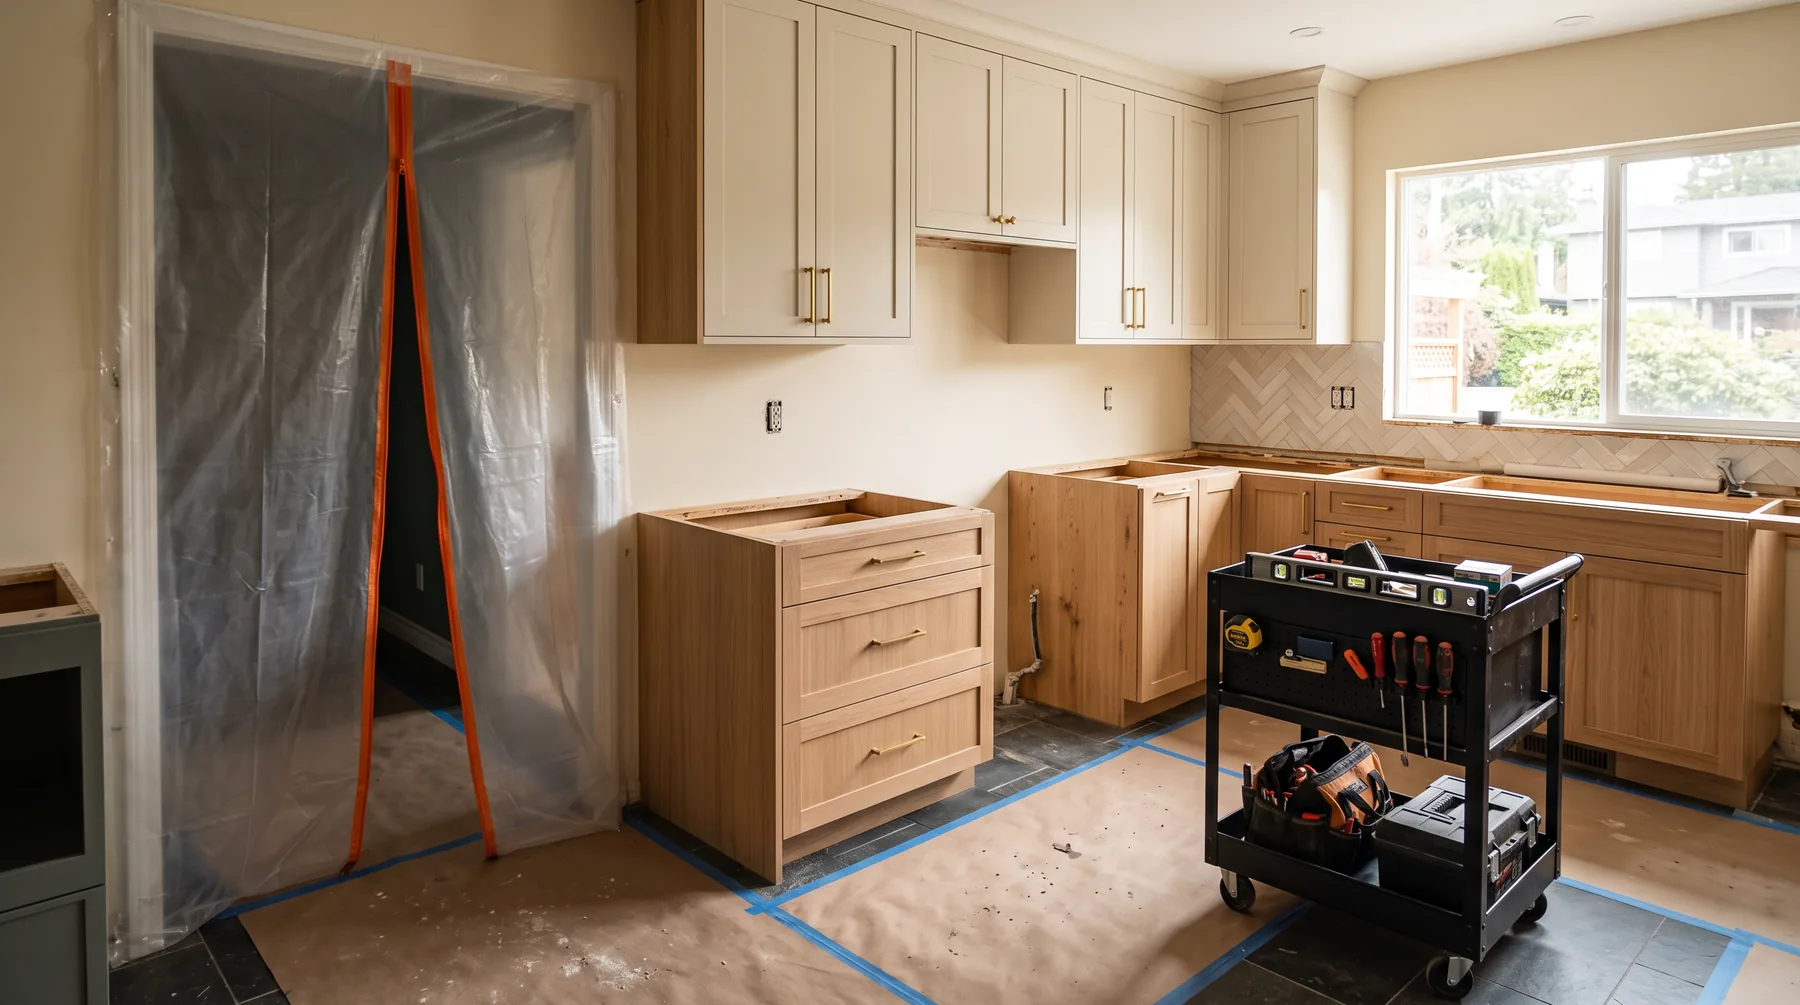
Once demolition starts, a refresh (paint or reface, counters, backsplash) usually takes one to two weeks on site. A full condo kitchen takes about three to five weeks, and a house with layout changes about six to ten weeks.
But the calendar starts well before demolition. Design, approvals and cabinet lead times can take as long as the build itself. Planning those first is what stops a kitchen sitting half-finished.
Kitchen Renovation Timeline, Phase by Phase
| Phase | Typical time | What happens |
|---|---|---|
| Visit, measure & design | 2–6 weeks | Measure, layout options, selections, written quote. |
| Permits, strata & testing | Days to several weeks | Building and trade permits if needed, strata approval, hazardous-materials inspection. |
| Ordering & lead times | Days to about 10 weeks | Stock or IKEA cabinets can be quick; custom cabinets commonly take 4–10 weeks. |
| Demolition & rough-in | About 1–2 weeks | Tear-out, plumbing and electrical rough-in, inspections. |
| Cabinets & templating | About 1 week | Cabinets installed and levelled, counters templated. |
| Counters, tile & finishing | About 2–3 weeks | Counters fabricated and installed (about 1–2 weeks after templating), then backsplash, lighting, trim and hookups. |
| Final walkthrough | 1 day | Every door and drawer checked; adjustments made. |
These are typical ranges for planning. Your schedule is written into your quote and updated as the job moves.
Ordering and Lead Times
Lead times are the part of a kitchen schedule people underestimate most. The rule is simple: order everything before demolition, so the kitchen isn’t sitting open while you wait.
- Cabinets. Stock and IKEA cabinets can be available within days if they’re in stock. Semi-custom and custom cabinets are built to order and commonly take four to ten weeks.
- Countertops. Stone counters can’t be templated until the cabinets are installed and level, so they always come after cabinets, usually about one to two weeks later.
- Tile. Popular tiles are often in stock; handmade or imported tiles can take several weeks. Order a little extra for cuts and future repairs.
- Appliances and fixtures. Order them early, even if they’re delivered later. Cabinet and counter cut-outs are sized to the exact models.
- Lighting and hardware. Small items, but a missing pendant or a back-ordered pull can hold up the final walkthrough.
A Typical Full Remodel, Week by Week
Here’s how the on-site part of a full remodel in a detached house often runs once everything is ordered and approved. Condos follow the same order, usually with less rough-in.
- Week 1: Protection and dust walls go up. Old cabinets, counters and flooring come out. Any hazardous materials identified earlier have already been dealt with.
- Week 2: Plumbing and electrical rough-in by licensed trades. Framing changes if a wall is moving. Inspections booked.
- Week 3: Drywall closed, taped and painted. New flooring goes down where it runs under the cabinets.
- Week 4: Cabinets installed, levelled and fixed. Counters templated.
- Weeks 5–6: Counters installed, sink and faucet set, backsplash tiled.
- Weeks 6–7: Lighting, appliances, trim, hardware and touch-ups, then the final walkthrough.
A refresh skips most of this. A larger layout change, or waiting on a structural beam, can add time.
Five Ways to Keep Your Renovation on Schedule
- Make every selection before work starts. Cabinets, counters, tile, hardware, appliances and lighting, all chosen and ordered.
- Test older homes first. A hazardous-materials inspection before demolition avoids a stop-work surprise.
- Start strata paperwork early. If your council meets monthly, a missed meeting costs a month.
- Keep one decision-maker. Agree who in the household signs off on changes, so questions get answered the same day.
- Ask for a weekly plan. Knowing which days are loud, dusty or need the water off makes the weeks easier for everyone.
What Slows a Kitchen Renovation Down
- Ordering late. Custom cabinets ordered after demolition leave you without a kitchen for weeks of waiting.
- Changing selections mid-job. A different tile or counter resets lead times.
- Approvals. Many strata councils meet monthly; permits for alterations take time to process.
- Surprises behind walls. Old leaks, wiring or hazardous materials found late. Testing first avoids the worst of these.
- Inspections. Rough-in inspections have to pass before walls are closed.
Condo vs House
Condo or townhouse
- Strata approval adds time at the start.
- Permitted work hours can stretch each phase.
- Layouts usually stay, so less rough-in.
- Elevator bookings for deliveries and debris.
Detached house
- More freedom to move walls and plumbing.
- Permits and inspections for alterations.
- Hazardous-materials testing in older homes.
- Electrical upgrades may be needed.
Living Without a Kitchen
Most families stay at home during a kitchen renovation. A little preparation makes the weeks much easier:
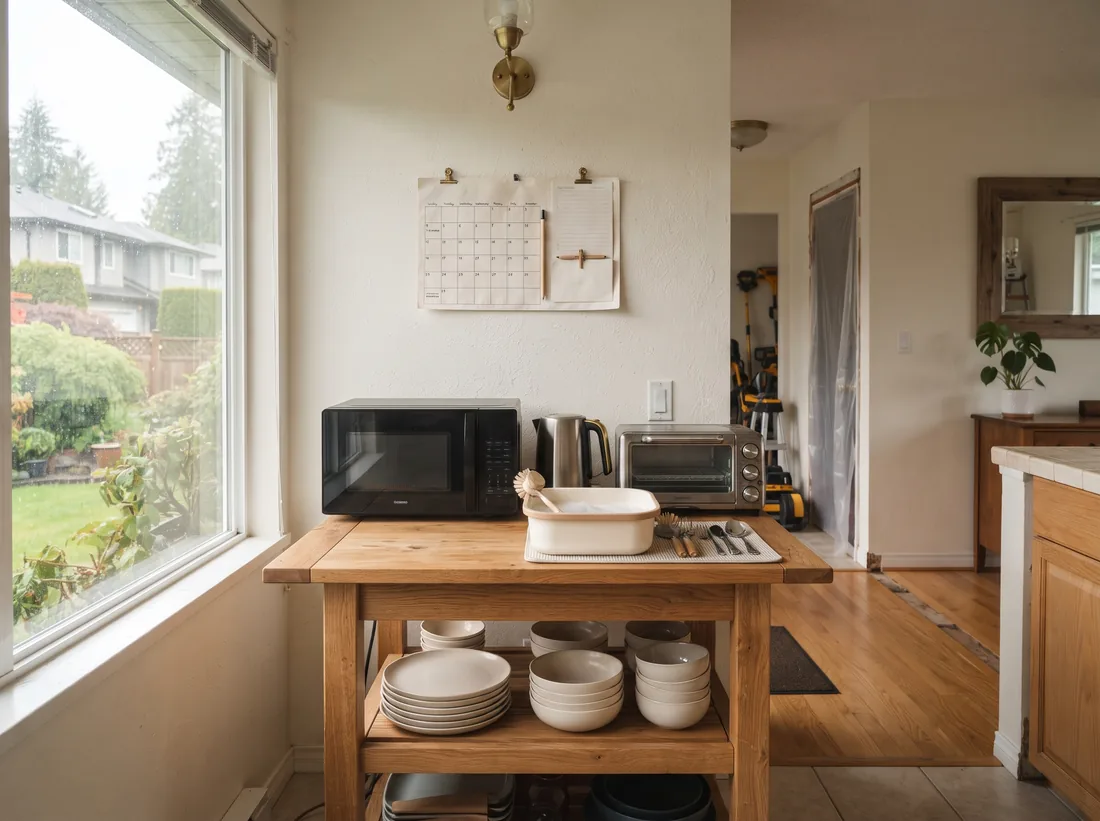
- Set up a temporary kitchen in the dining room or basement: microwave, kettle, toaster oven or air fryer, and a small fridge if you have one.
- Use a bathroom sink or laundry tub for washing up, with a dish tub and drying rack.
- Plan simple meals and stock up on paper plates for the demolition week.
- Pack the kitchen in labelled boxes and keep one “essentials” box handy.
- Ask for a weekly plan so you know which days are loud, dusty or need the water off.
Kitchen Renovation Planning Checklist
- List what doesn’t work in your kitchen now, and what you’d keep.
- Decide on scope: refresh, partial update, full remodel or new layout.
- Book a visit and measure; compare layout options.
- Make all selections before anything is ordered.
- Confirm permits, strata approval and testing needs.
- Order cabinets and long-lead items; get delivery dates in writing.
- Set up a temporary kitchen and pack up.
- Agree on a start date and weekly plan.
- Walk through the finished kitchen and note any adjustments.